How to Make a Beautiful Snowflake Gift Bag out of Paper
DIY Gift Bags!
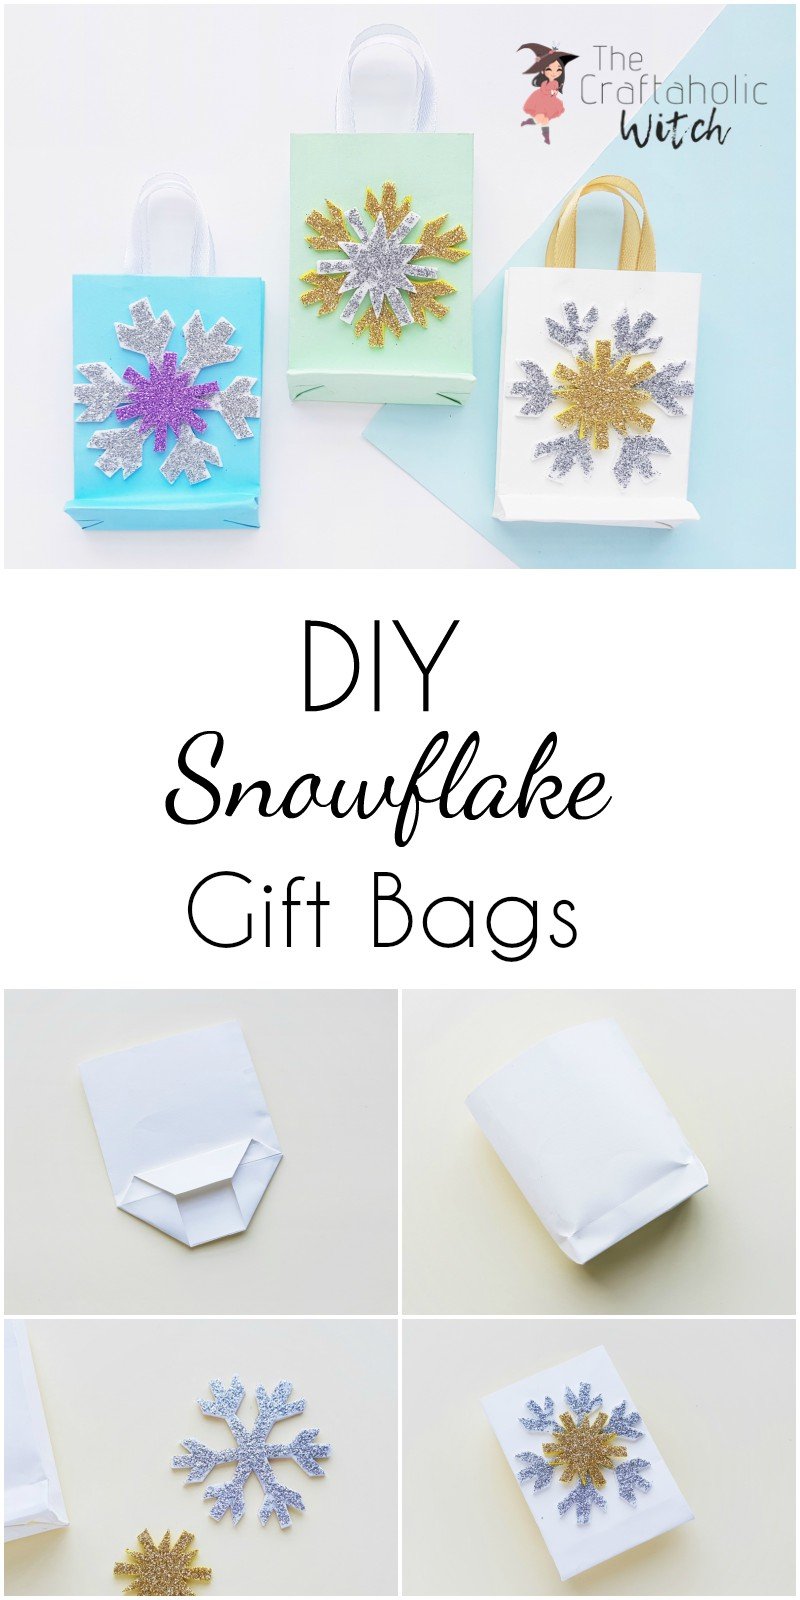
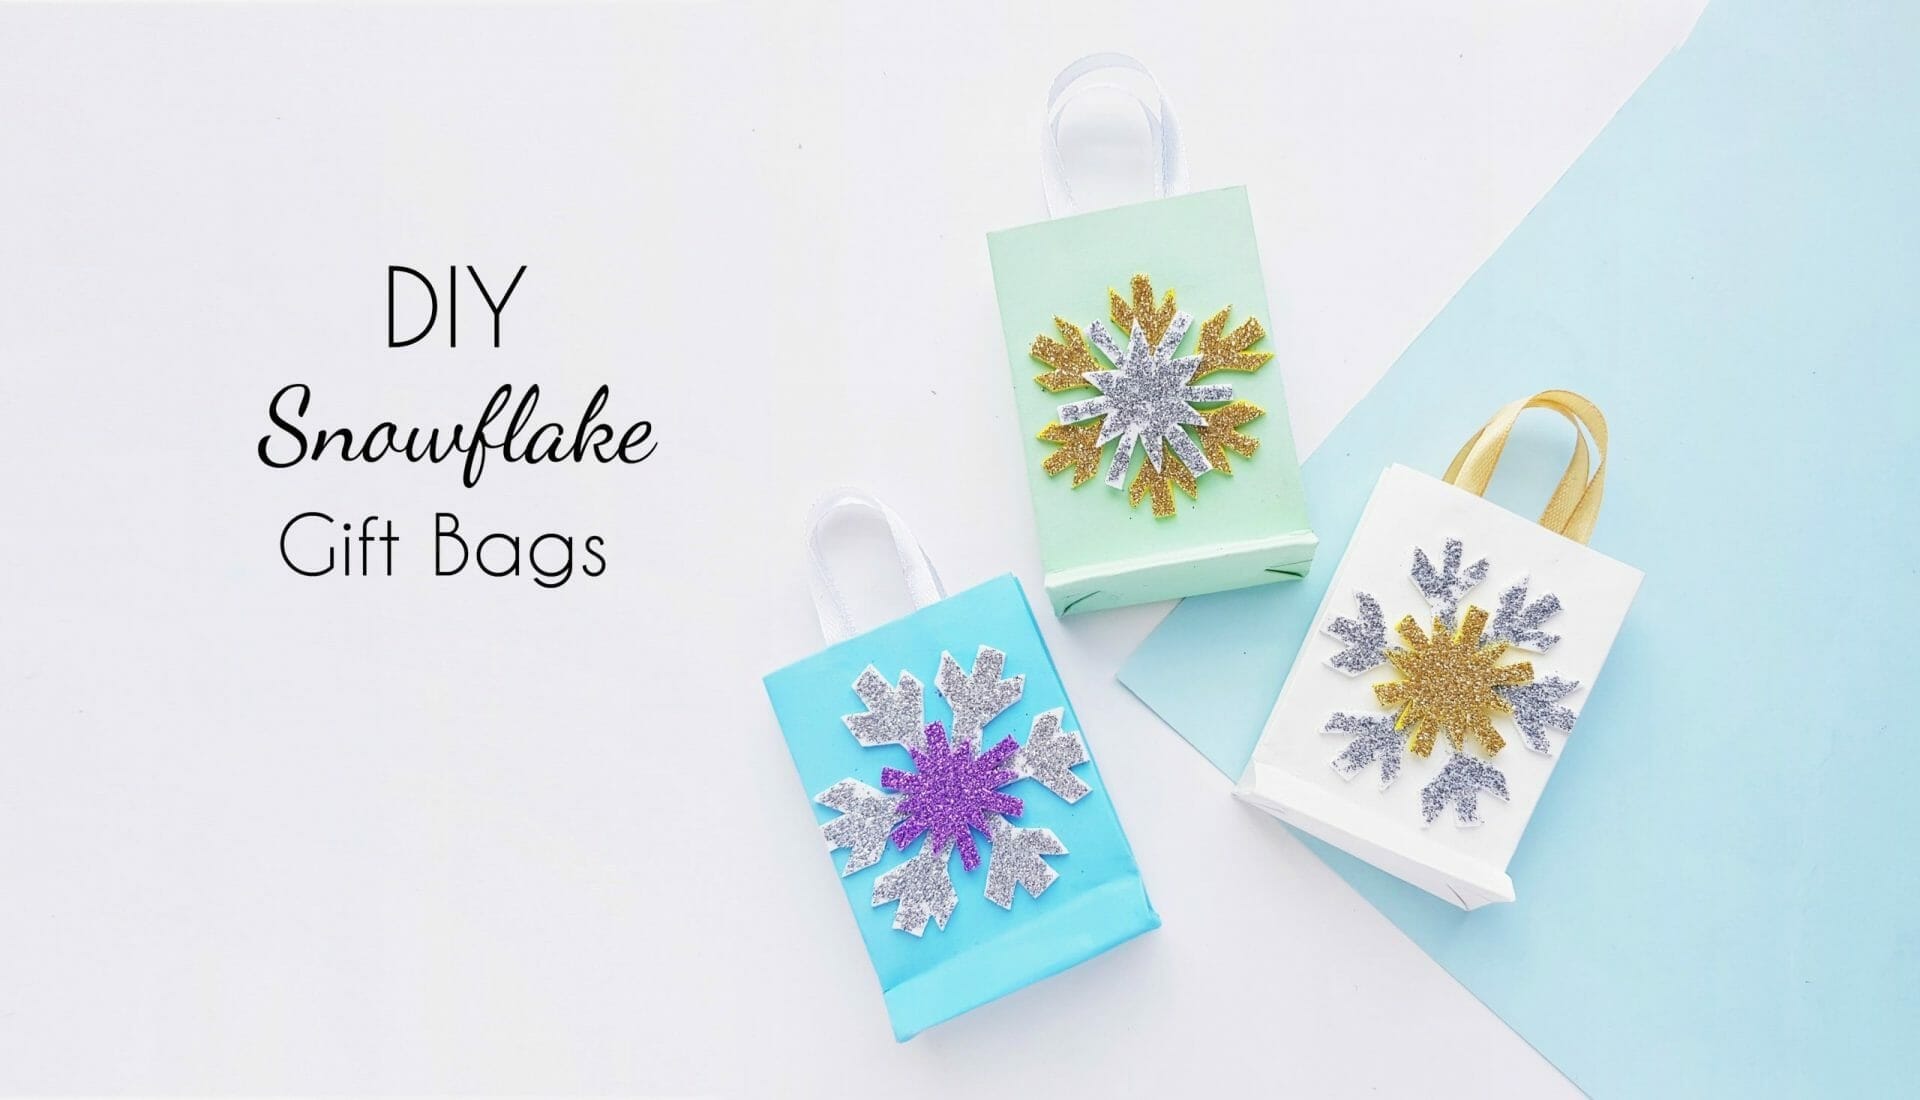
The season of gifts is here and we’re all busy buying and wrapping gifts for our loved ones. Gift bags are as much important as gifts don’t you think? So today, I’m here with a gift bag idea, DIY gift bags; which can be made easily by anyone. These come with free snowflake templates and step-by-step instructions for bag making. But in case you’re in a hurry, you can also use store-bought paper gift bags and then decorate them with some glittery snowflakes to add a Christmas vibe to them.
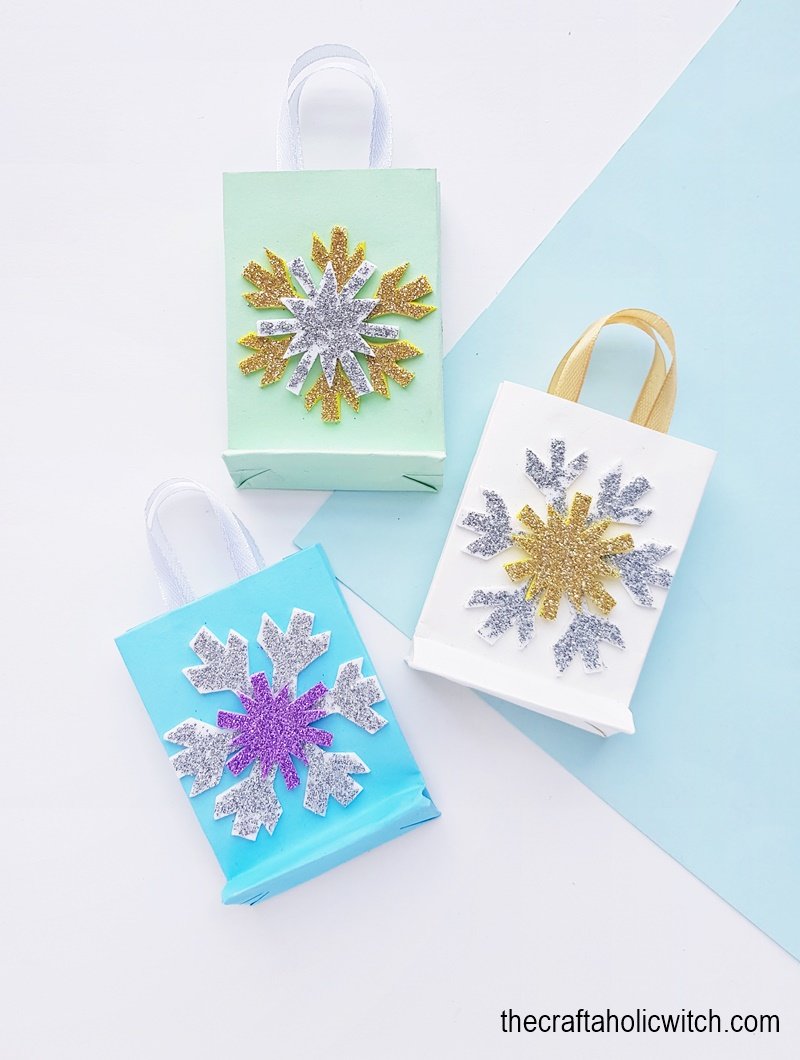
List of Supplies
- Craft paper – for the bag
- Glitter foam sheets
- Pencil
- Scissors
- Craft glue
- Satin ribbon – 1 cm thin ribbon
How to Make a Gift Bag
Step 1:
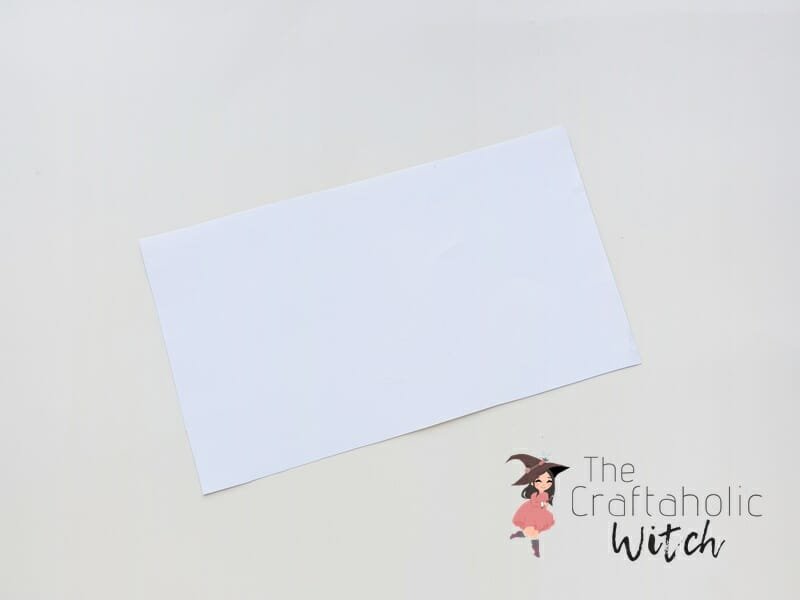
Trace and cut out a rectangle-shaped paper from any colored craft paper you’d like for the paper bag. Mine was 5 inches X 8 inches.
Step 2
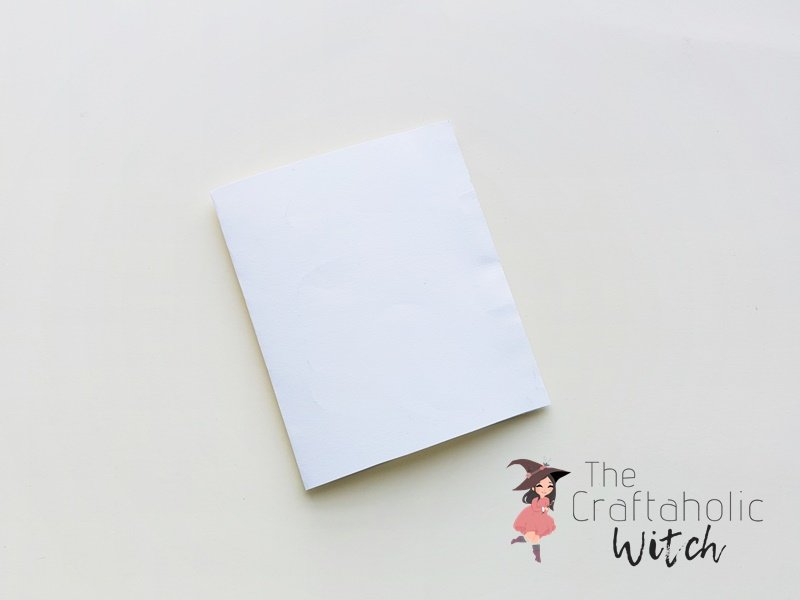
Keeping 1 cm intact on either end of the long side, fold the rest of the paper into half. Fold and glue the 1 cm part with the rest of the folded paper to close that side.
Step 3
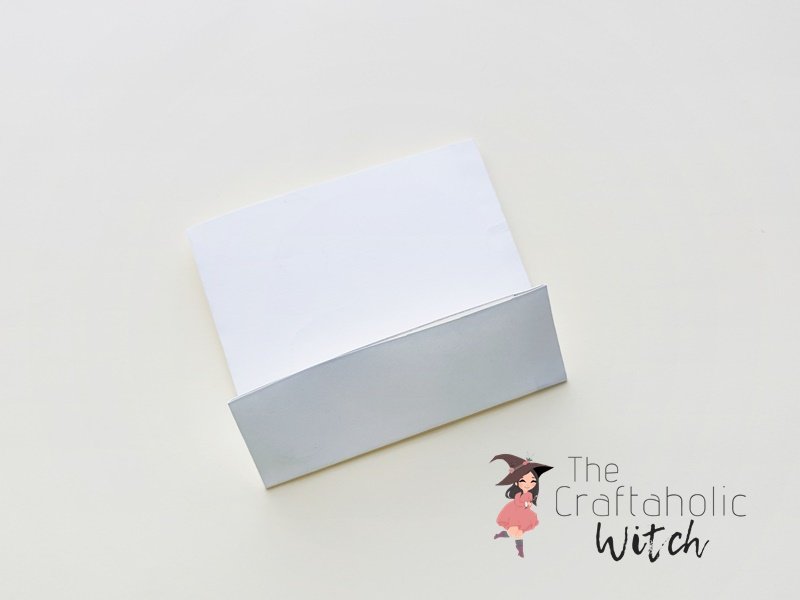
Fold up 2 inches from either open ends of the folded paper.
Step 4
Keeping the fold of the bottom part secured, open up the bottom side and flatten the 2 sides neatly. This will create 2 flap-like patterns on the top and bottom side of the flattened pattern.
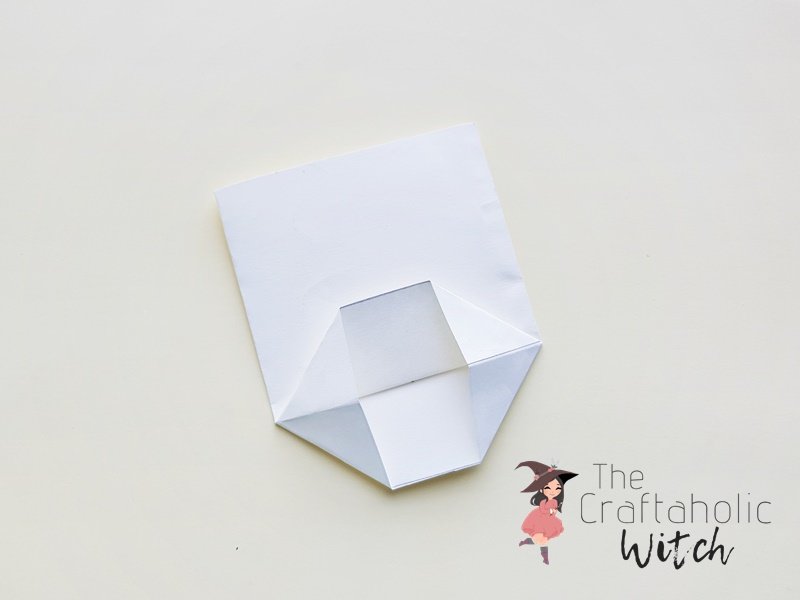
Step 5
Hold any one of the flaps and fold it towards the middle line of the bottom part. Fold the other flap and fold it towards the middle line of the bottom part by slightly overlapping the first folded flap. Glue the overlapped parts to secure the bottom side of the paper bag.
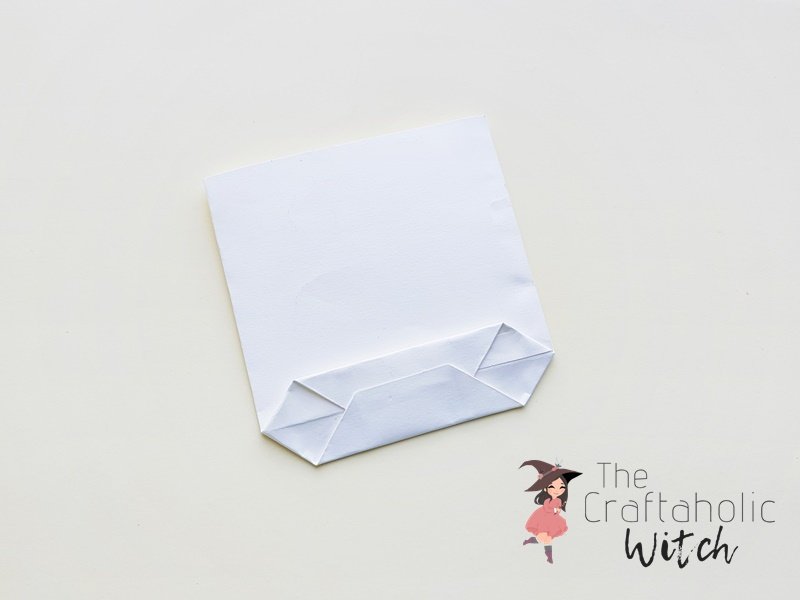
Step 6
Create folds along both sides of the bag. Match the opposite corners of the squares on the bottom side of the bag to make sure that the folds are done neatly.
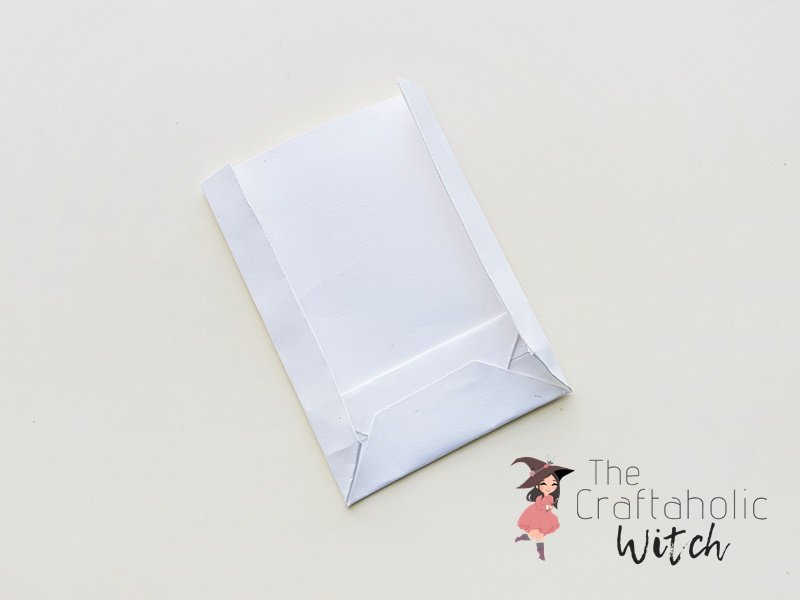
Step 7
Unfold the sides and bottom folds. Create crease along the folding lines to complete the bag nicely.
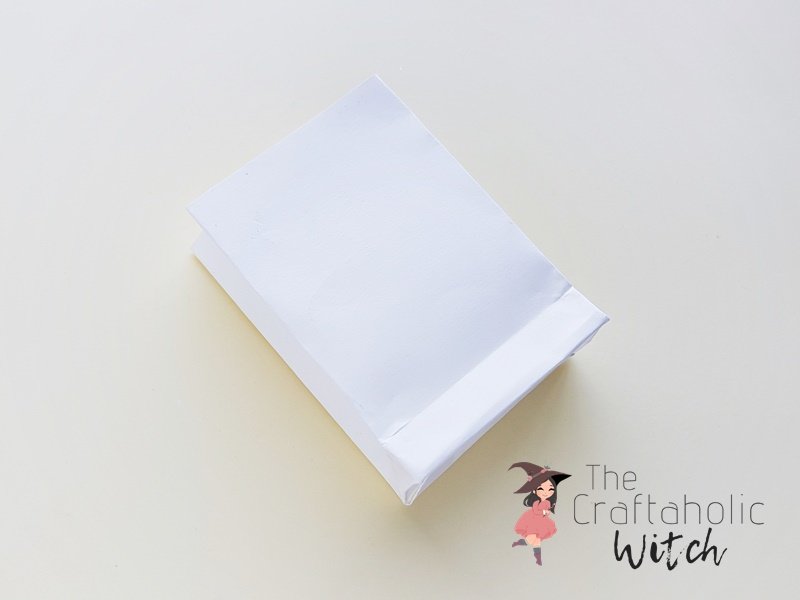
Step 8
Trace and cut out snowflake patterns from glitter foam sheets. Use the provided snowflake templates.
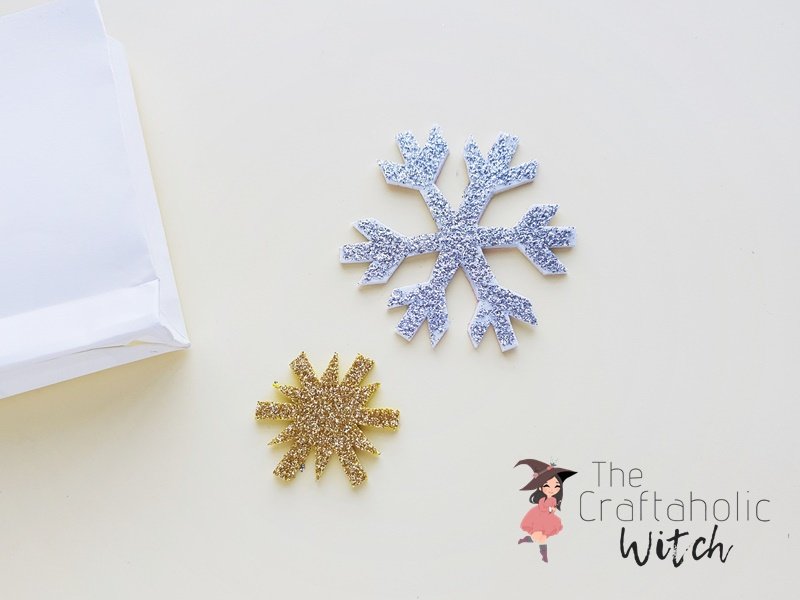
Step 9
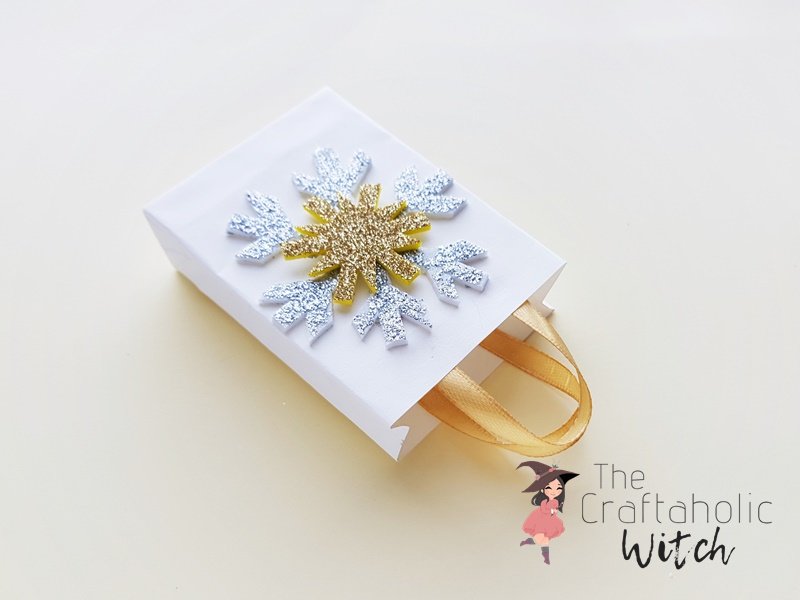
Attach the snowflake patterns on the paper bag to decorate it. Cut out 2 small pieces of satin ribbons and attach them on both sides of the top end of the bag to create the handles of the bag.
Hope you liked this tutorial. Don’t forget to share a picture with us if you make one! We’d love to see your version of the DIY Gift Bag (You can share your picture with hashtag #craftaholicwitch or just DM your picture to us on Instagram.
